Our 2017 Bathroom Tub Rough In
<< Previous | Bathroom | Demolition | Reconstruction | BathTub | Flooring | Tile | Next >>
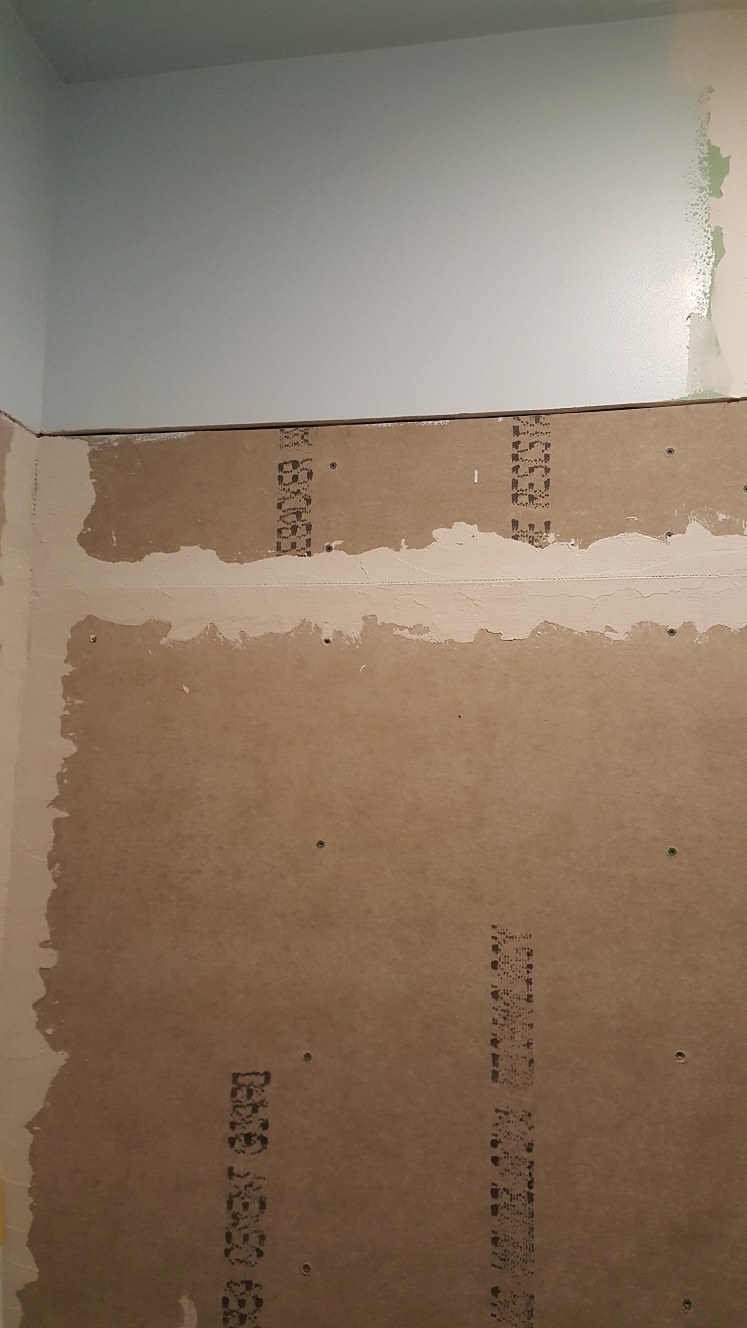
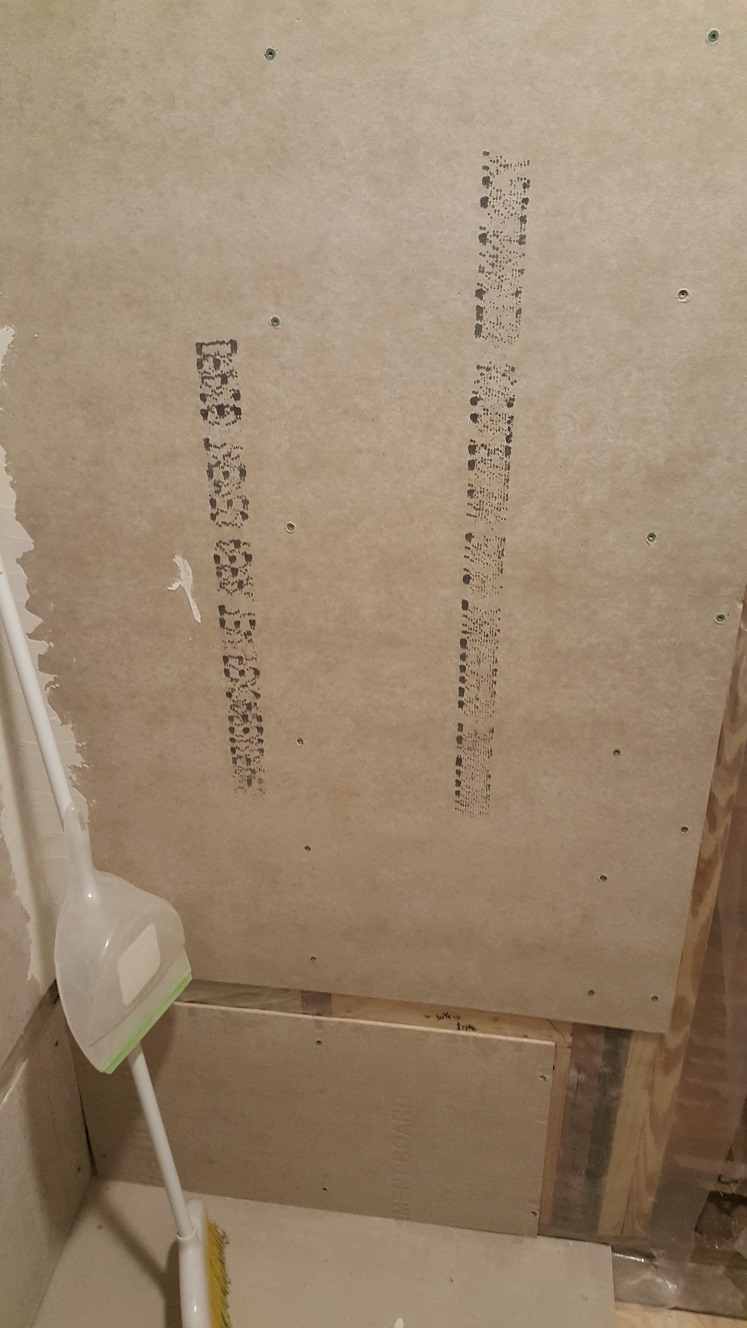
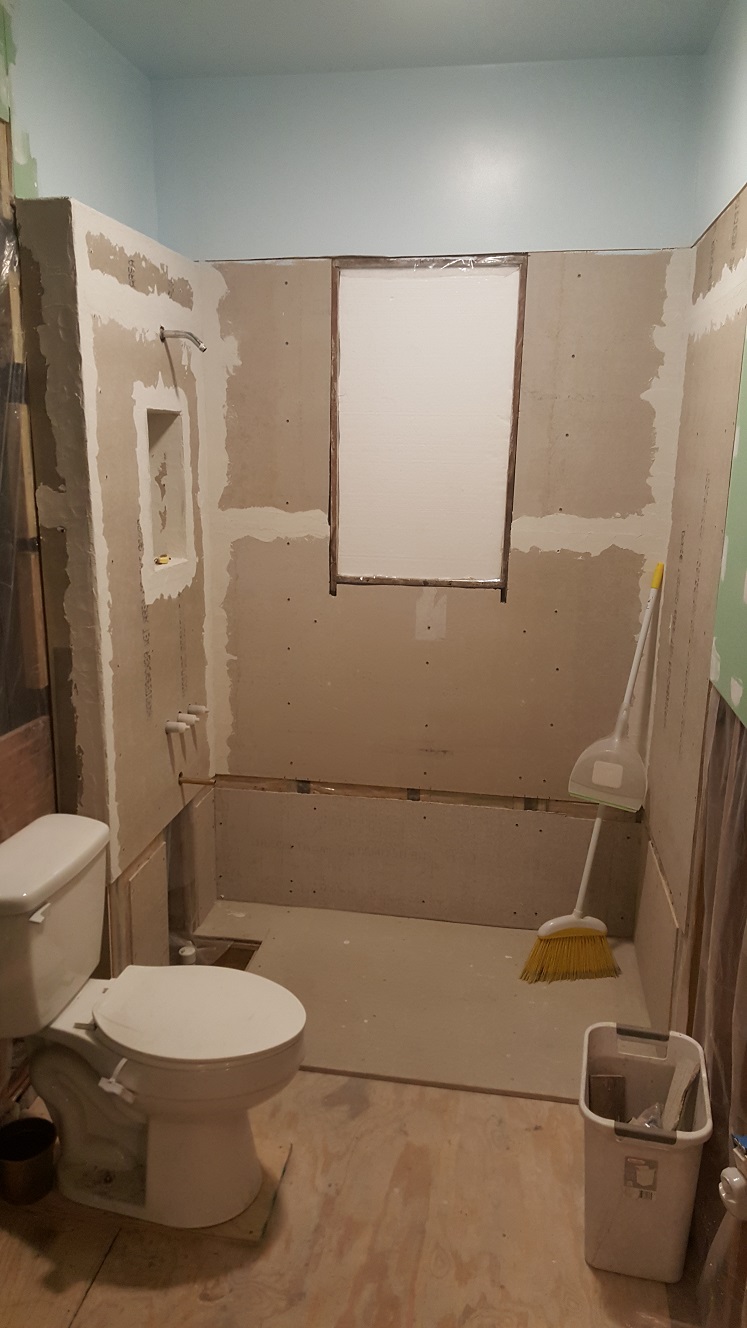
So the plan is to install the hardie backer board for the tub surround with the idea that the tub will just slide into place once all of the mortaring on it is done. The drywall needs installed above the hardie backer surround and the joints taped and mudded too. As always, I'm still agonizing over my tile planning and still no closer to knowing for sure what the actual pattern will we be, but more importantly, where the backer board ends and the drywall begins. I finally decide even with the top of the window frame is as good a place as any and get started with the backer board on the wall around the window.
I start by attaching a 2x4 ledger board to the wall studs to help support the weight of the first piece of ½" hardie backer. Although they make them in larger sheets, Lowe's only had the 3' x 5' size, so I would have to piece it all together. Really not the end of the world since it will be covered with tile and light enough that I can work it without help, but it's still not light when it's just me lifting it. Because a standard bathtub is 5' long I use the 5' length and notch out for the bottom of the window frame. Then I cut two more pieces to fit above that one on either side of the window and that wall is done.
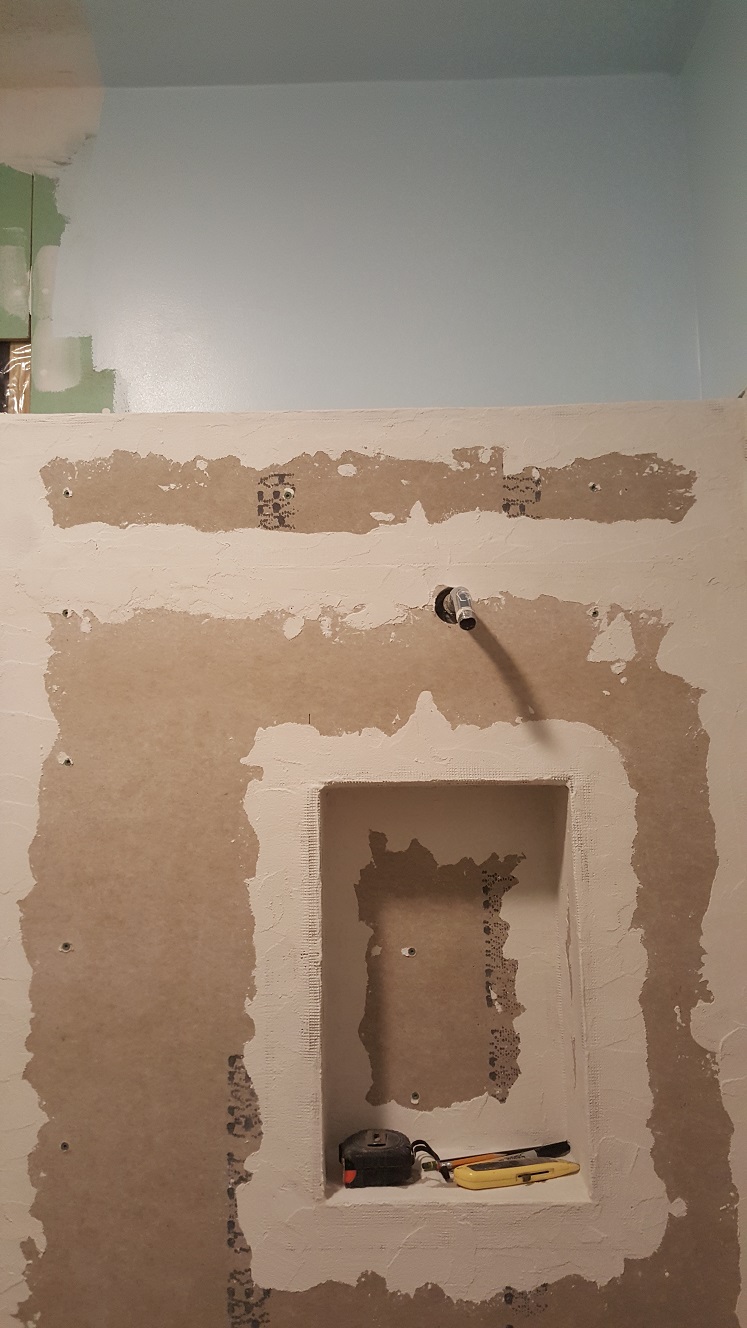
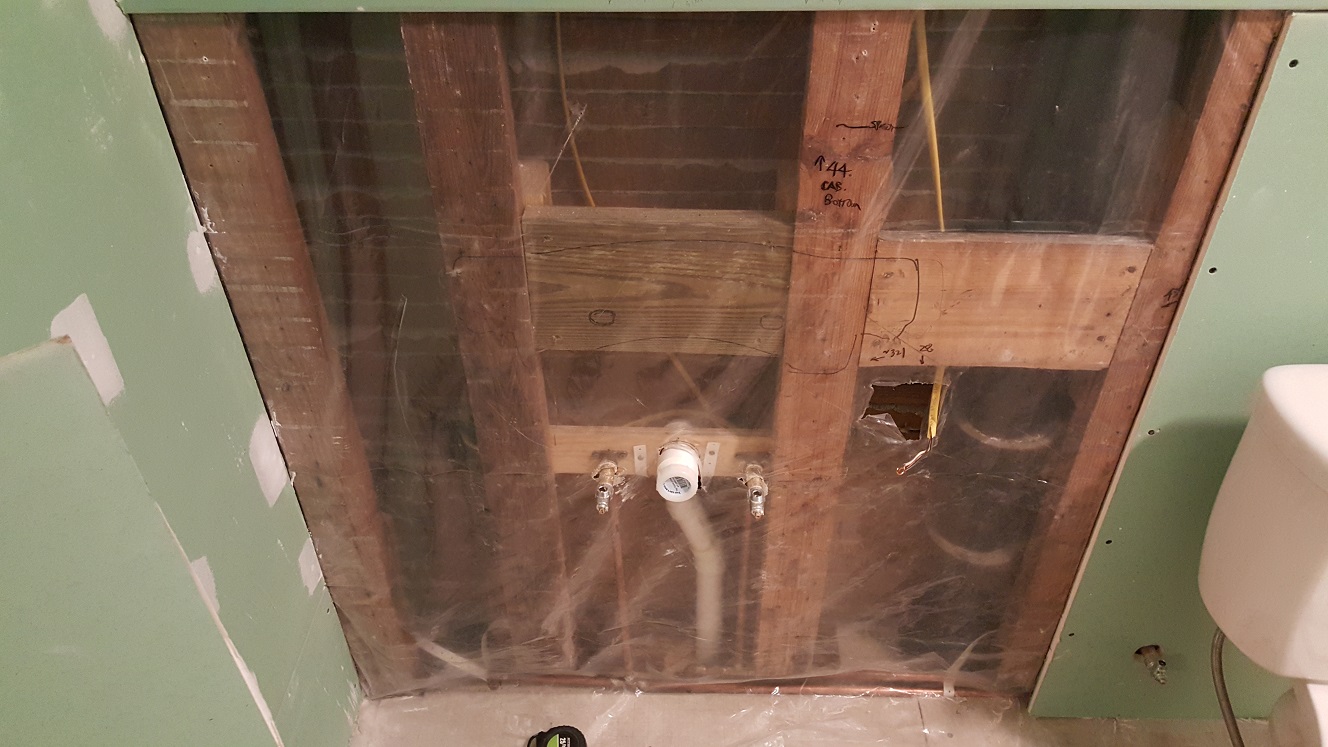
Next I place a full 3' x 5' sheet upright along the back wall, leaving a strip not quite a foot tall to be cut to fit. That wall's done. I should mention that before I started this I had already strategically placed new studs to allow a solid point of attachment for both this backer board and the drywall that would butt up against it. Now the shower controls wall... This one is going to be a test of my patience. So many features that have to be perfectly measured and cut, including the control handles themselves, the tub spout, the shower head, and the inset.
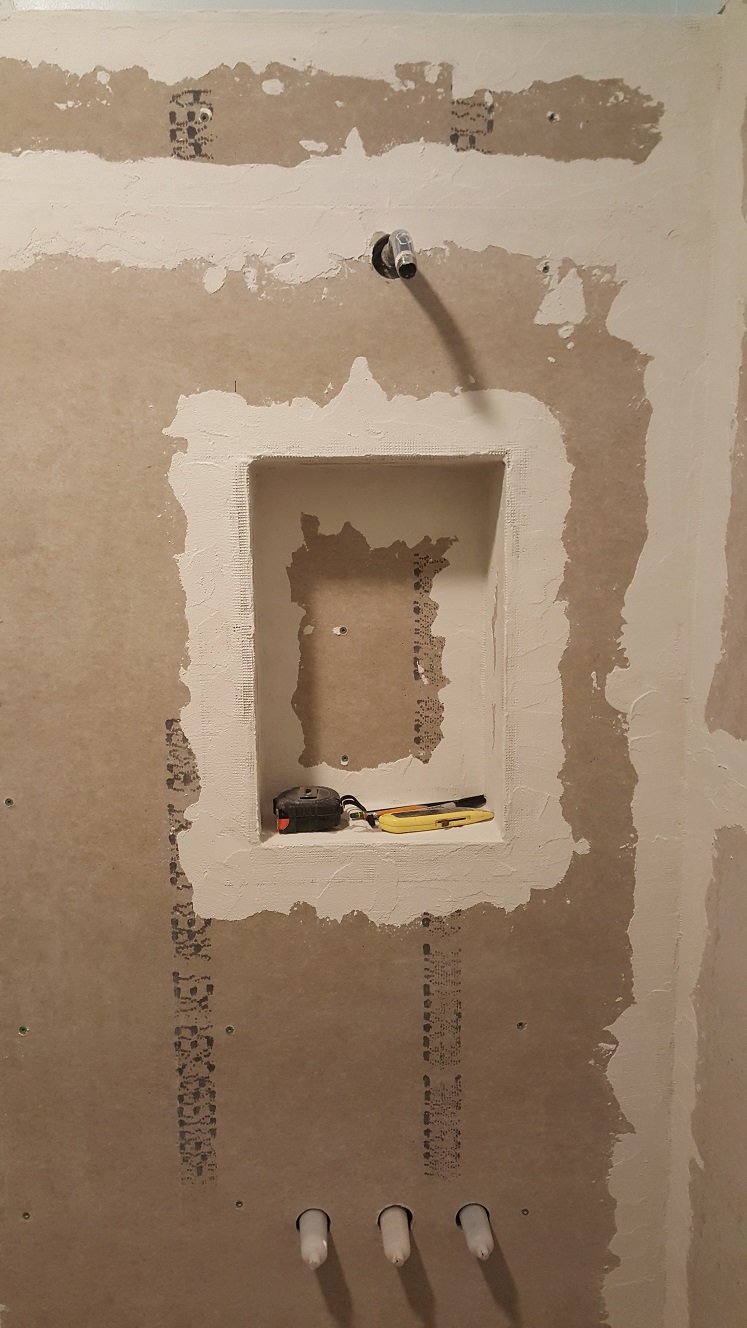
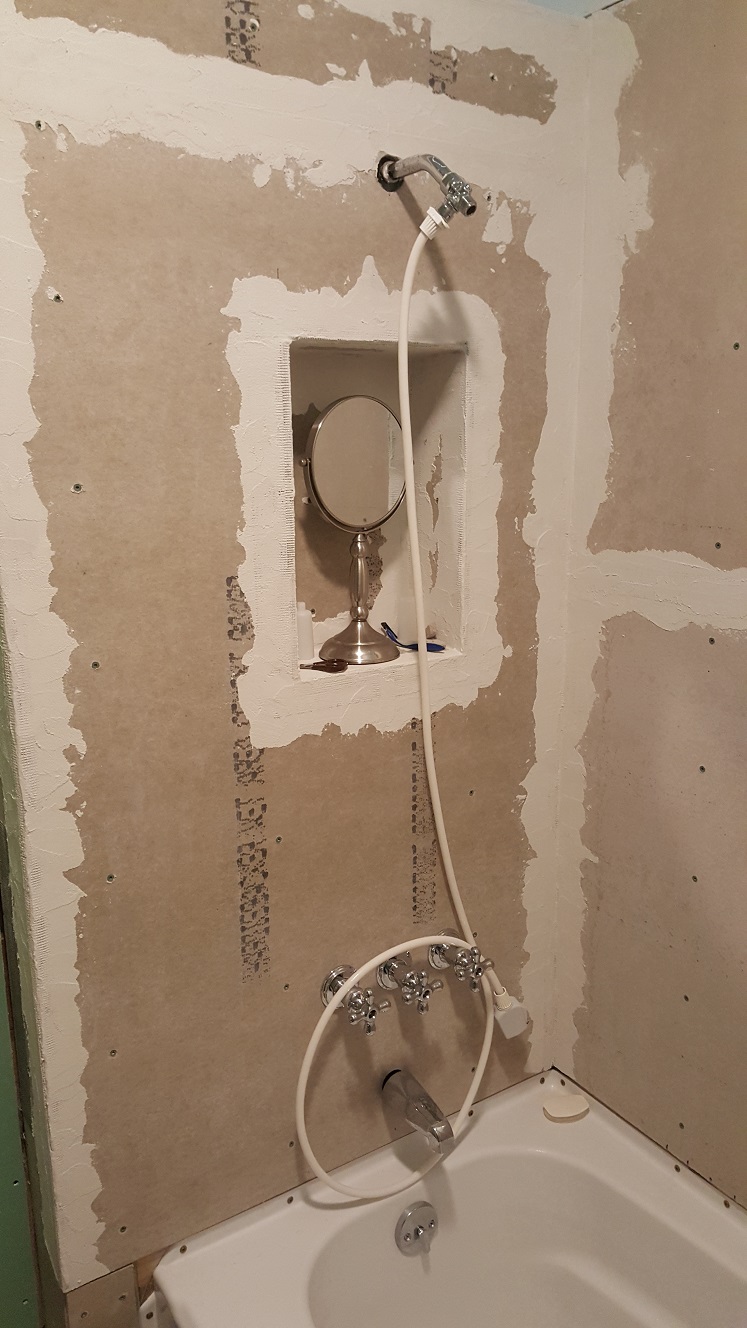
I start by attaching another ledger to help support the weight of a full 3' x 5' sheet of backer board. Then measuring out from the window wall and up from the ledger to the controls, I mark the new panel accordingly. Same for the spout and shower head positions. Last I measure and mark the opening for the inset. Using a Horrible Freight hole saw kit, I proceed to dull the 1¾" shell. I have been using my old circular saw, because the axial thrust bearing is shot and the blade likes to wander, but these cuts aren't that critical since they will be mortared over anyway.
As I'm setting the saw down after cutting out the opening for the inset, I hear the bearings starting to growl as it comes to a stop, meaning I've probably filled them with the grit of the cement these boards are made from. Good thing the panel fits like a glove and I only have that thin strip at the top left to cut... Well, to finish the tub surround walls that is. I don't really care if I've finally destroyed the old circular saw, except I'd really like it to last long enough to finish up this job. All that's left are all the "bits and pieces", the back of the inset is already pretty much done from cutting it out of the front panel, but now I need the four panels that fit between the front and back. Those are soon in place.
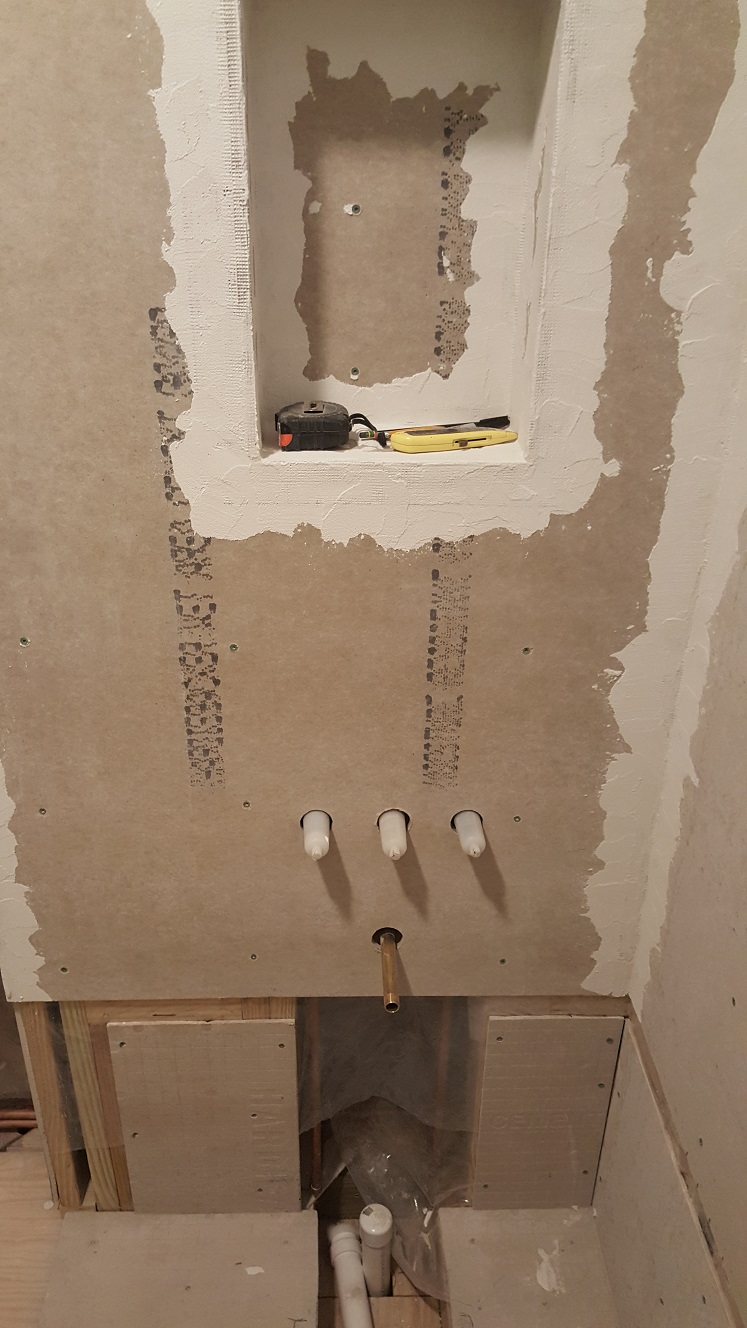
Last are the pieces that fit beneath the tub to effectively wall off the studs under the tub. These aren't really critical, but I'm thinking that encapsulating that space will minimize outside influences and perhaps better insulate it. I leave a gap slightly larger than the mounting flange on the tub all the way around, after removing those temporary ledgers first. That pretty much finishes the backer board surround rough in. All that remains is to mesh tape the joints and mortar them over. It will take some doing around all of those edges and joints of the inset, but that can wait.
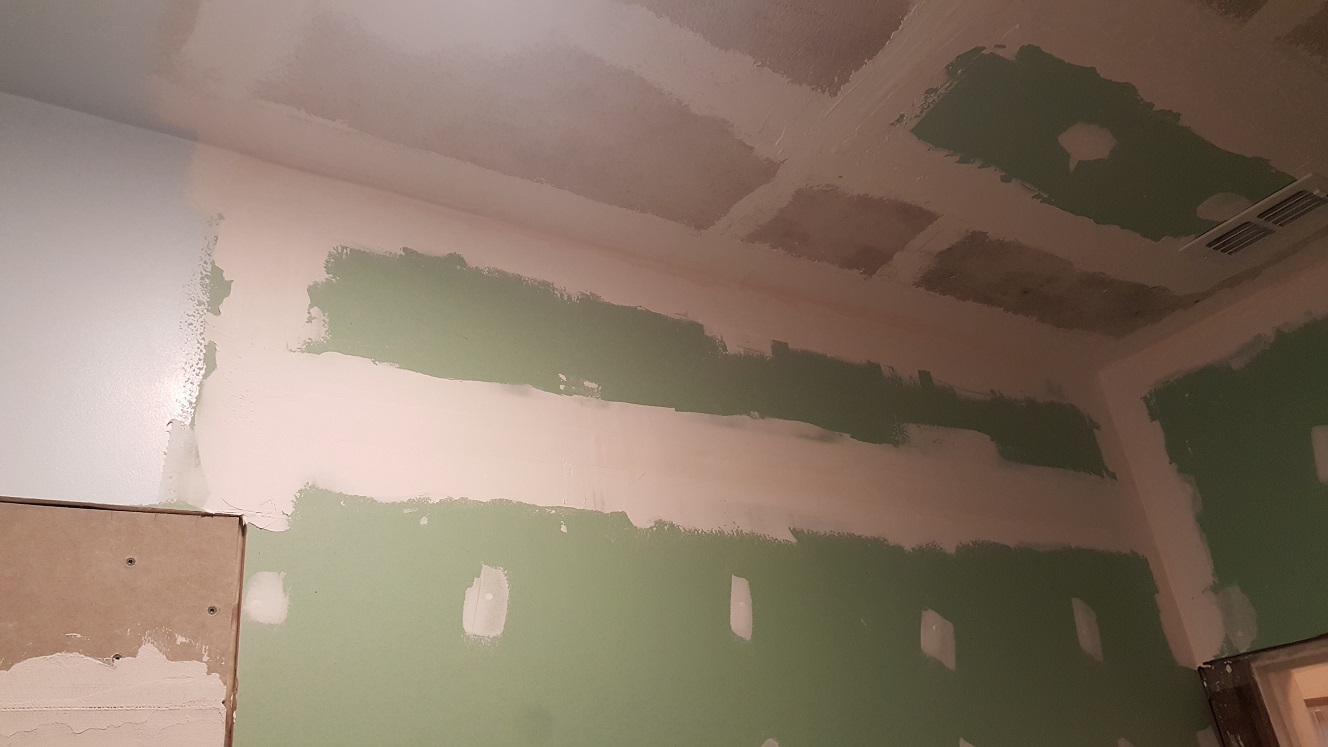
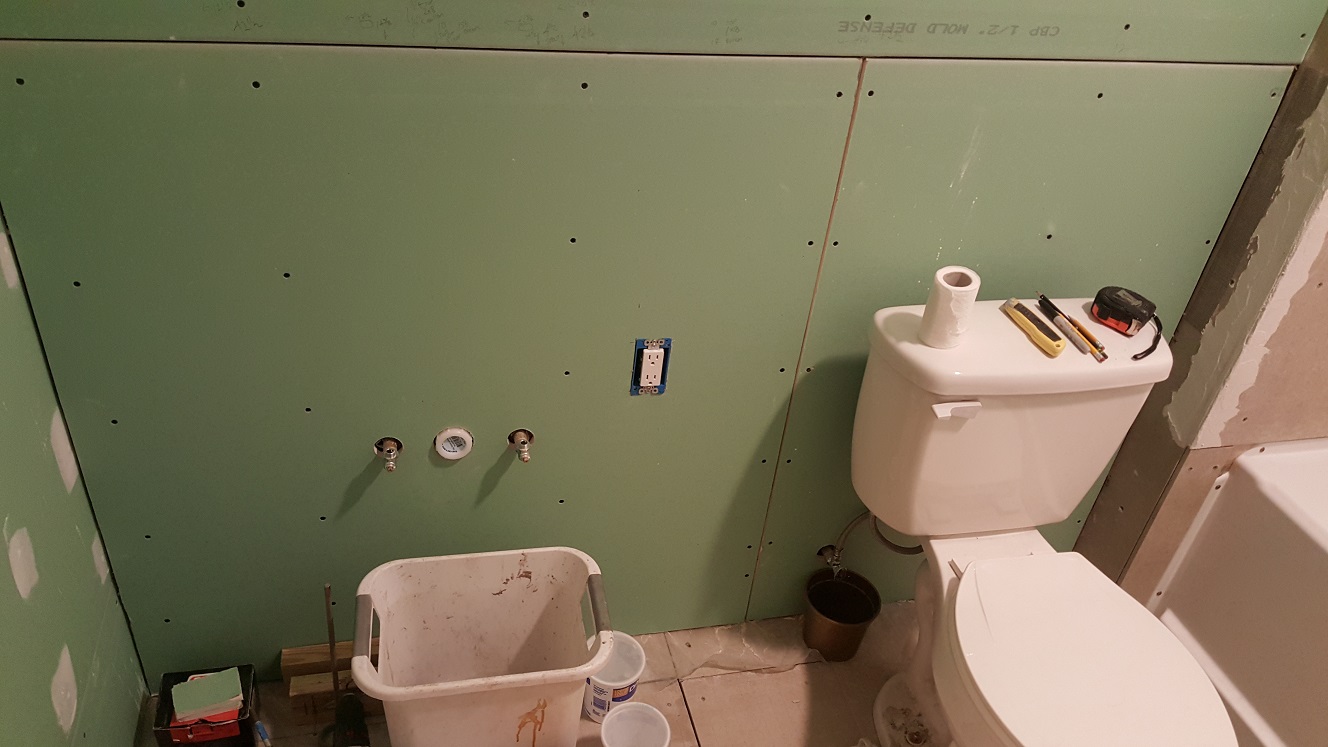
Now I turn my attention to the drywall above the surround up to the ceiling. One 4' x 8' sheet of drywall will give me all three walls with a 5' long chunk a little over 2' wide left over. It's roughly 22" from the top of the window frame to the ceiling. I make quick work of it with the utility knife and soon have the pieces set in place. After some research Nick found that "hot mix" style joint compound was the best to use when joining drywall and plaster. So armed with the 20 minute quick setting mix, I added water and mixed. I quickly found that I had to be quicker. 20 minutes isn't much working time and I had to make another batch just to finish up that small area above the tub surround.
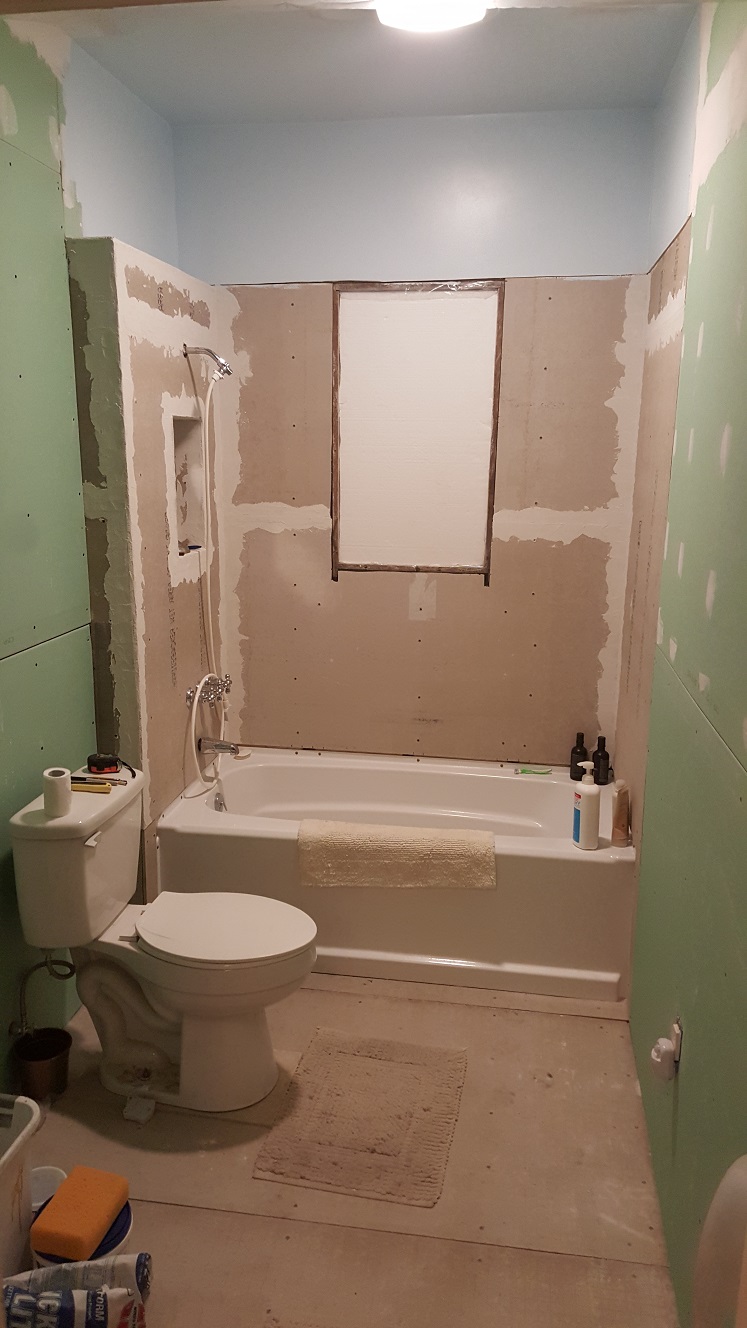
Well, even though it's quick setting, that apparently doesn't mean it's quick curing. It still takes hours for it to be ready for sanding, but once it's sanded, it's ready for paint. And painted it is. So that leaves the mortar work on the backer board. Once that is completed, we'll be able to install the tub, permanently this time. Until now we've been storing the tub in the huge box it came in, on its side, in the living room, taking it out and setting it in place as needed. After this successful test fit in the surround, this will be the last time it's stored before installing it for good. This time it's the tile setting mortar I'm mixing - and finding the working time, while longer than the hot mix, is still shorter than I'd like. A number of batches later, I think I've finally got everything covered.
(5 February 2017)
We've made even more progress on the bathroom reconstruction over the last few weeks. While
the surround is ready for the tub to be installed, and boy are we ready for it to be installed, Ann decides she wants
the ceiling to be the same light blue color as the walls and textured. Normally you would start the drywall from the floor,
or rather, just off the floor - horizontally. Then the next sheet would go on above that, with the previous sheet helping
to hold it in place while fastening it. Well, there's a problem with doing it that way because of how we want to just slide
the tub into place once all the work that needs done above it is completed. If the drywall is already in place, we would
need a slot cut in it slightly larger and longer than the tub flange to be able to do that.
We could try and push our luck and maybe just flex it enough to get it in past the drywall, but I'd hate to have the tub crack as we're finally setting it in place because we tried to force it. So it's another catch 22, need to finish the drywall to install the tub, need to install the tub to finish the drywall. No worries, some quick calculations yield the width of the narrow strip that needs to go in around the ceiling to be able to mud and finish it for texture application. While I'm trying my best to get it all done, the short working time of the hot mix is forcing me to spend more time cleaning up the last batch before it hardens and mixing up yet another batch to be able to continue than I am spending on doing the actual mudding itself.
<< Previous | Bathroom | Demolition | Reconstruction | BathTub | Flooring | Tile | Next >>
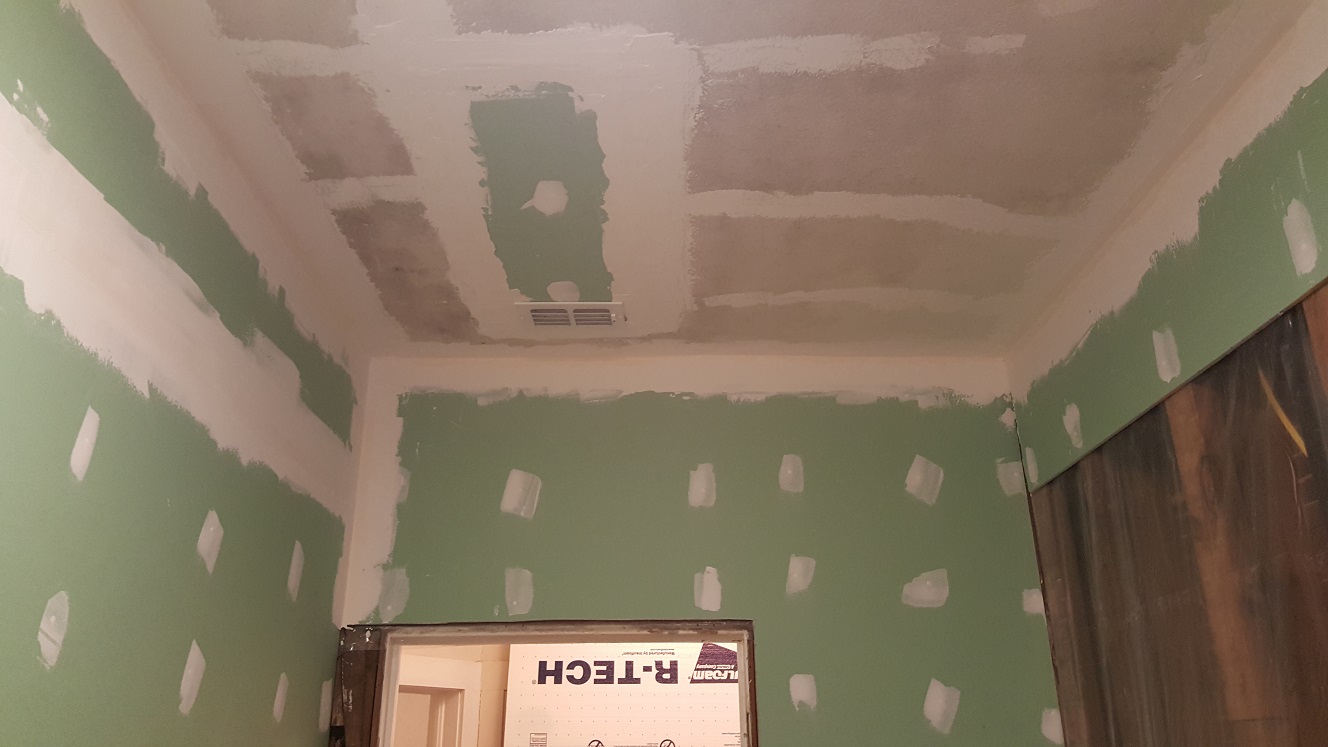
It takes me a couple of days, but I eventually get all of the ceiling and corners mudded. Again, quick setting does not necessarily mean quick curing. Even a day after I've finished the mud is still somewhat soft and damp, too much so to allow sanding, so I turn my attention to getting more drywall hung and finishing up along the bottom of the wet wall where multiple versions of the plumbing over the years have left multiple, now unused holes, openings and gaps in the sill plate. I also need to finish closing out that wall so I can install the remaining hardie backer flooring over it. It's also keeping me from finishing that last course of drywall there.
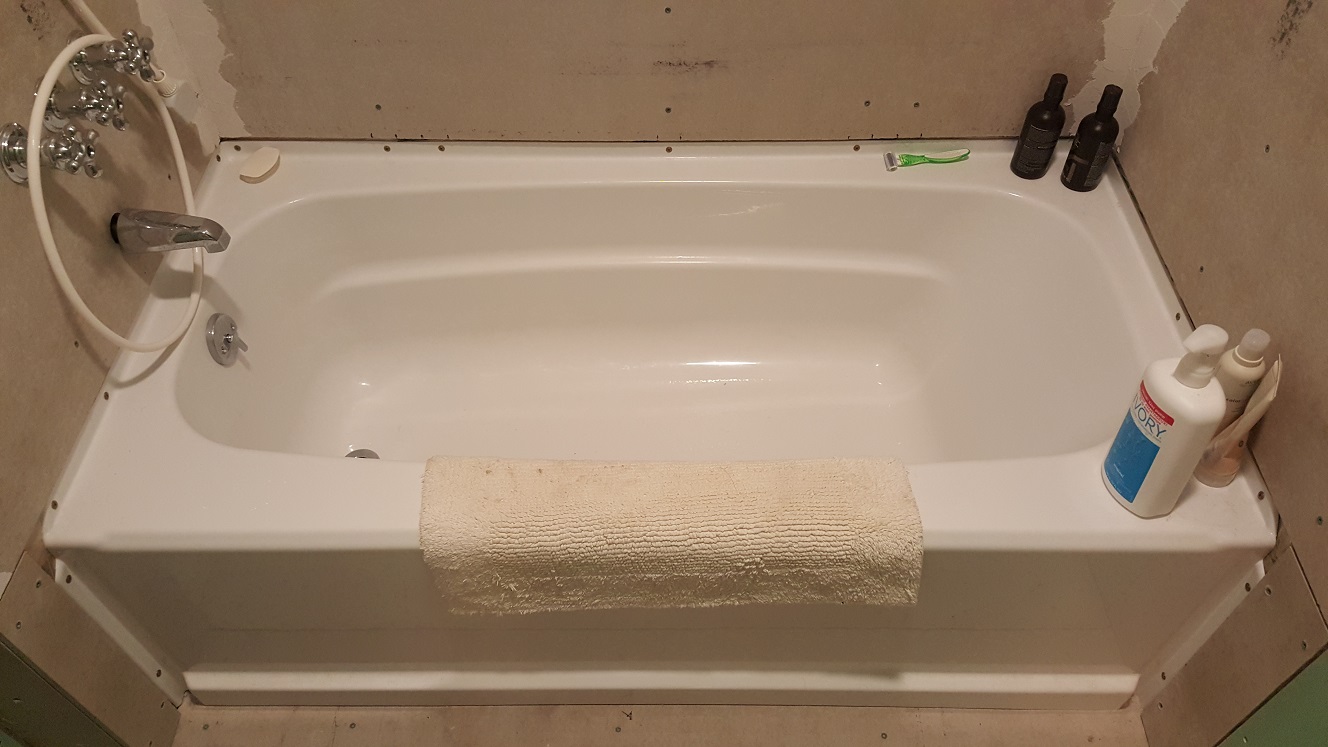
In any case, we are able to slide the tub in and get it installed... Kinda, sorta. The installation instructions say to use acyrlic caulk to seal the drain to the tub. They also specifically caution against the use of plumbers putty, because it will stain the acrylic tub and may even cause cracking. Unfortunately, I've ALWAYS used plumbers putty when it comes to installing drains, because nothing else works. But I'm stuck. Nick mans the top side while I man the underside of the brass drain and overflow setup we're using. The way it normally works is the drain itself is internally thread and installed from underneath and the basket and flange piece are externally threaded and screw in from the top, usually with a rubber or thick fiber gasket beneath and the plumbers putty between the basket flange and the basin above.
This time we're entirely relying on the sealing strength of the acrylic caulking. I don't have much faith in it after seeing how thin this stuff is. And even using the proper basket wrench to tighten it all up, it's acting as if the threads are bottoming out before it's snugged down around the basin opening. Well, we try it and before we get much water in it's leaking like a sieve! Knew it. What stupid moron thought this was a good idea? So I'm frustrated and Nick's frustrated and we're running out of ideas and patience. Nick looks into it more and finds out they make a non-staining, acrylic compatible plumbers putty just for these types of basins. And Lowe's has it in stock. One quick trip to Lowe's later and Nick comes back with our saving grace.
At least we thought it would be our saving grace... But I'm getting ahead of myself. The plumbers putty does the trick to fix the leaking around the drain and basket, thank goodness! We're moving on to getting the overflow and drain itself all connected to the waste plumbing. I get everything put together and tightened up, or so I think. Now the damned drain line is leaking like a sieve where it connects to the tee in the overflow! Can't win for losing on this one... This whole thing has been one giant exercise in guesstimation. First the controls and whether they will stick out far enough but not too far. Then the acrylic caulk not thick enough for the drain design. And now, how long or short to cut off the brass pipe so that this entire assembly fits together AND on the bathtub correctly?
Looks like I guessed wrong. I try loosening everything back up and putting it back together again. Same thing! Nick wants to have a go at it. When he is having trouble getting it back together, I tell him to make sure the compression nut isn't still hanging there, and to let me back in there - I have an idea. So I barge in and take back over, pretty sure I know what's going wrong now. Well, Nick isn't pleased about that. Then the compression nut I asked him to make sure wasn't still hanging there falls into the dirt and I start yelling. Now he's really pissed at me. I extricate myself from the access hatch once again and go looking for another plastic compression nut for the 1½" waste line fitting. All I have is 1¼"! Cursing like I always do, I grab the last fitting I have, the one slated for the sink waste line, and steal that one.
In any case, now that I'm angry and yelling and everyone is angry with me, I've once again made it a less than enjoyable experience. I guess I just want to be done with this, along with everyone else I'm sure... I'm also pretty sure the problem is the way I've been putting things together. The past two times I've tried to attach the drain to the tee in the overflow downtube, I've done it last and it's been cocked at an angle to the overflow downtube and the tee itself, making it difficult to get the threads started on the brass compression nut and impossible to cinch down and seal. So this time I make damn good and sure that drain line is square to the tee. This time the compression nut threads right away and it cinches down with surety.
That's good, now let's get the overflow tube into the waste line. This time I take advantage of the fact that the waste line is plastic and bend it to where it mates with the overflow tube where it sits. The stolen plastic compression nut threads right on and it cinches down as well. Time to test, fingers crossed... No leaks! Thank God! Time to fill the tub and give it the overflow and maximum flow assault. Still no leaks! It's about time, it only took all day! So now that the tub is installed we're one step closer to a functional bathroom. We won't have to go to Nick's to shower anymore unless we absolutely have to have a shower. I say this because Ann would rather shower than take a bath all the time.
Then I remember that I saved the old personal shower attachment when Ann threw it out for trash, the one we used when bathing the dogs. I quickly fetch it from the garage and attach it to the old shower head gooseneck. Voila! After serveral days of this Ann was asking if we couldn't just take an actual shower. I figured what the hell, why not? All we needed was a shower curtain. The backer board would be fine for a few weeks until I could get the tile on.
(18 February 2017)
A few weeks turned into a few months, but I'll get to that in the next section. First, I've been busy over the last
few weeks getting
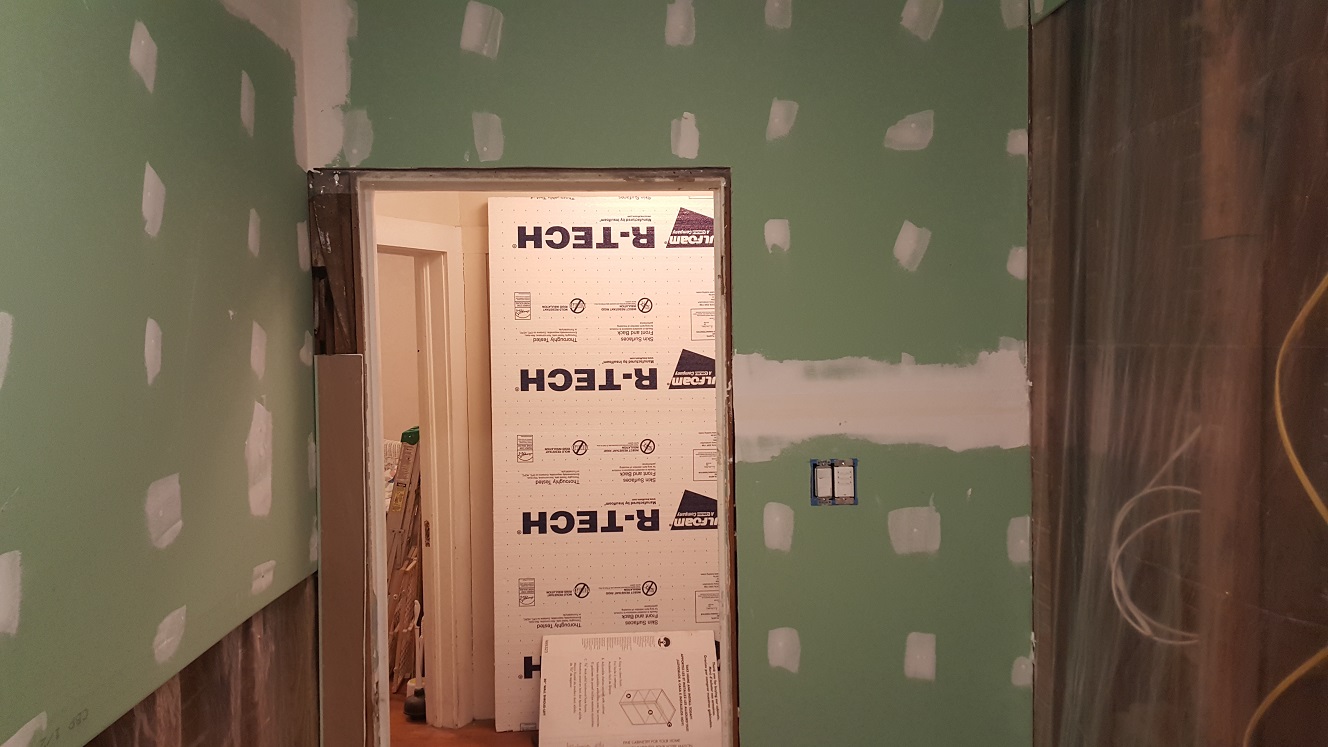
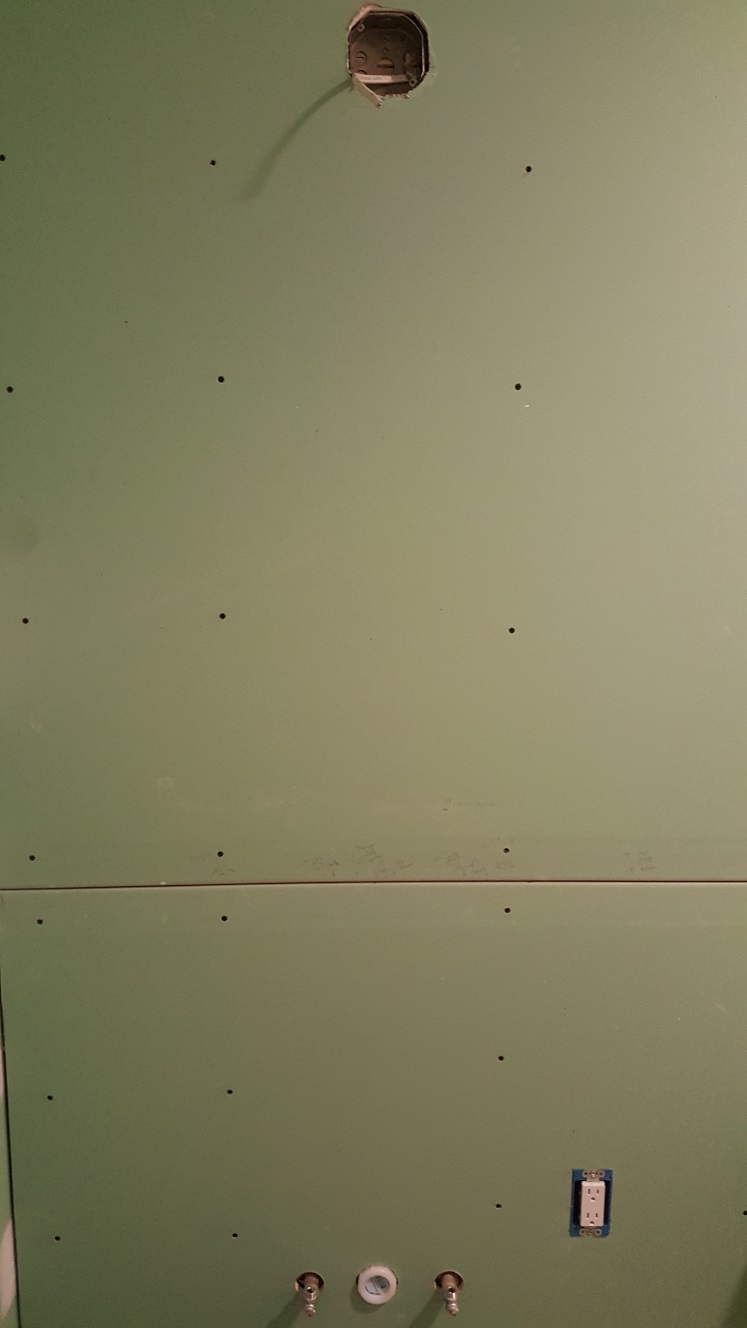
the remaining subfloor and drywall installed, the new sink and medicine cabinet located, and the electrical for the
over sink lighting roughed in. Still need to mud the remaining drywall joints, but the bathroom has been functional
enough that we haven't had to run over to Nick's place. I really need to figure out what I'm going to do about the
wall tile. In the meantime, Ann has found the floor tile she wants to use and so I can start thinking about that too.
The Rough In Continues...
<< Previous | Bathroom | Demolition | Reconstruction | BathTub | Flooring | Tile | Next >>